Normal Anatomy of the Knee Joint
PCL reconstruction and LCL / PLC repair
Knee Dislocation
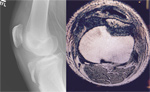
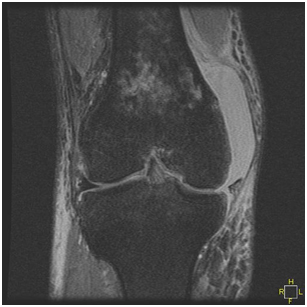
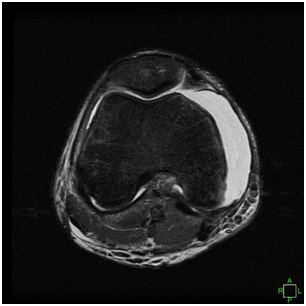
Patient is a 30 year-old-male who suffered a multi ligament knee injury. He tore his PCL, LCL, and the Posterior Lateral Corner Complex - including the popliteal tendon and the biceps femoris tendon.
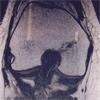
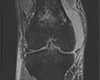
- Fig 1: The MRI shows the torn LCL and Biceps Femoris.
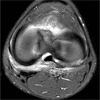
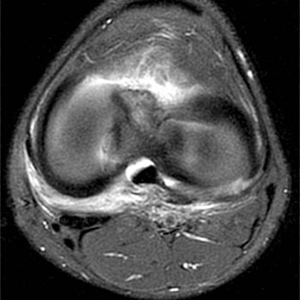
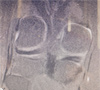
The MRI shows the torn popliteus tendon.
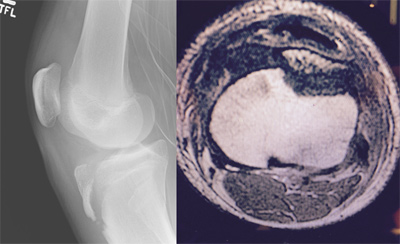
- Fig 2
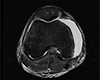
- Fig 3
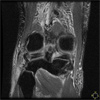
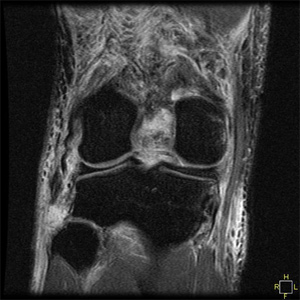
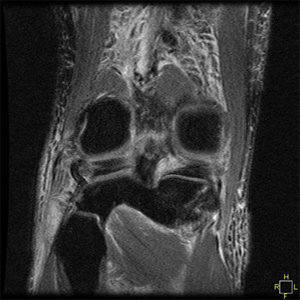
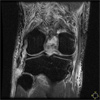
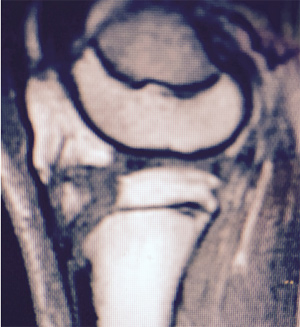
Fig 4: The MRI shows the torn PCL in midsubstance and off of the femur.
- Fig 4

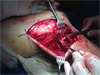
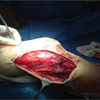
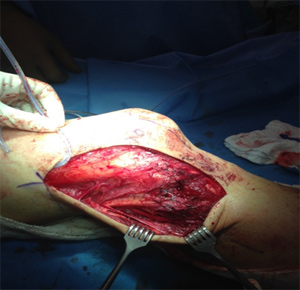
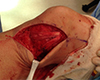
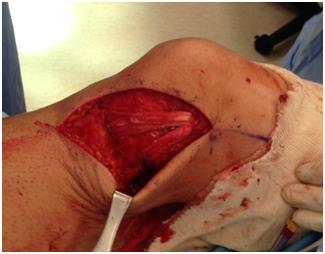
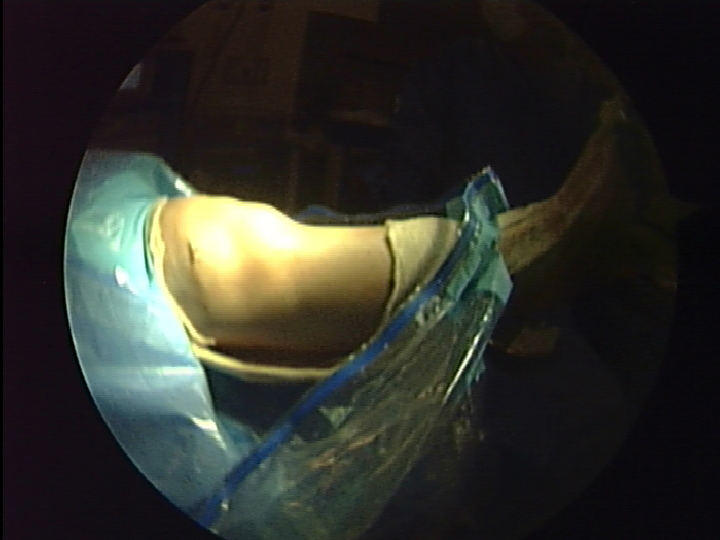
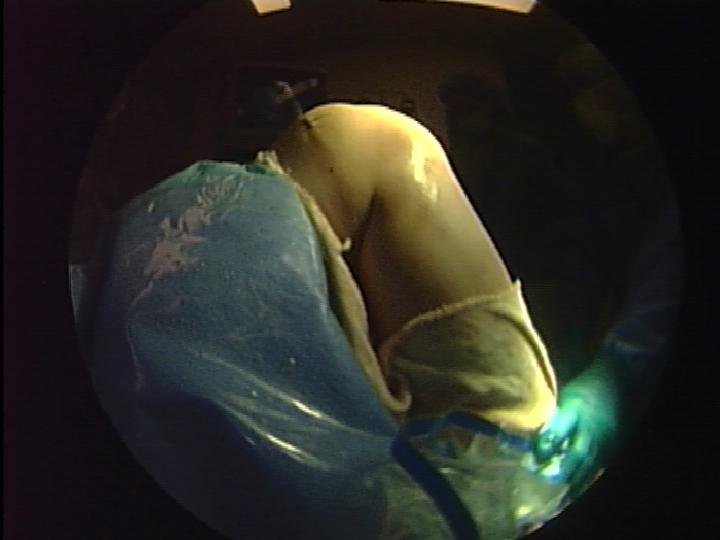
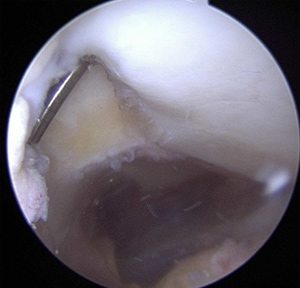
During the the first surgery, the lateral structures are repaired. Great care is taken to identify and protect the peroneal nerve (seen in picture 6 with the blue vessel loop) and release it from any adhesion or edema to prevent further injury. In picture number 6, the near clamp is identifying the LCL and the far clamp is on the popliteus tendon,the skin rake is on the avulsed stump of the biceps femoris.
- Fig 5
- Fig 6
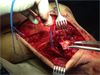


In figure 7, the repair of LCL, and posterior lateral corner, including the popiteal tendon and the avulsion of the biceps femoris off the fibular head is complete.
- Fig 7
During the second surgery, after the capsule and repaired posterior lateral corner have been given a chance to heal, the PCL is reconstructed with an Achilles Allograft (Figures 8, 9, 10).
- Fig 8
- Fig 9

- Fig 10


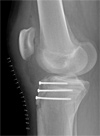
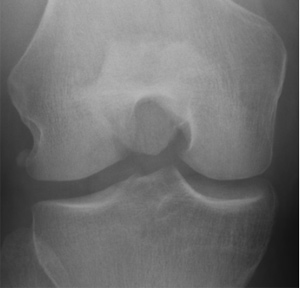
Tibial Tubercle Avulsion Fracture in a Patient with Open Physes
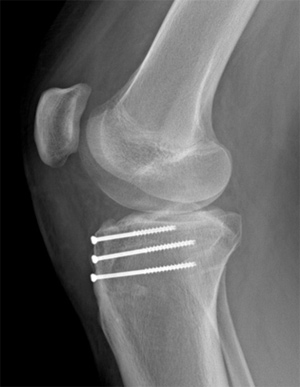
Patient is an adolescent male who is an elite level basketball player. The patient avulsed his tibial tubercle (a prominence on the tibia where the patellar tendon attaches). An open reduction and internal fixation of the tibial tubercle was performed to correct the injury. 3 parallel screws were placed to hold the tibial tubercle in place. The patient returned to play at an elite level and remains asymptomatic.
Pre Operative X-Rays and MRI
- Fig 1
- Fig 2

1 Week Post Op
- Fig 3

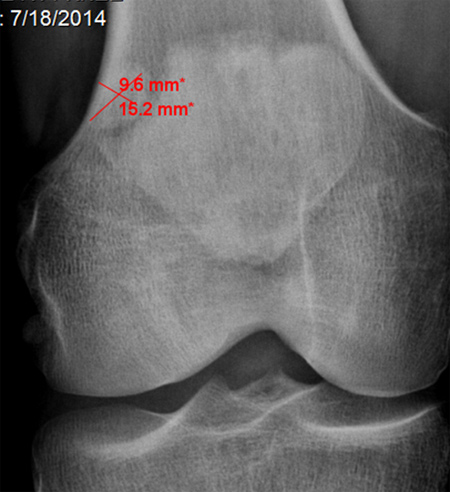
6 months Post Op
- Fig 4

Accessory Os of the Patella
Pt is a 30-year-old competitive weight lifter with chronic patellar femoral pain. X-ray exam in the office revealed an accessory os of the patella. Clinical correlation revealed this to be the area of maximal tenderness on exam. After failing conservative management with extensive physical therapy, NSAID use, and inter-articular steroid injection, the patient elected to undergo arthroscopic excision of the patellar os.
Pre Operative X-Ray
- Fig 1
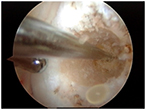
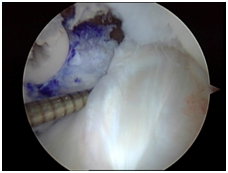
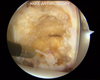
Arthroscopic photos from the surgery show removal of the os. The spinal needle is used to localize the os and demonstrate that it is loose. It is then removed arthroscopically with a burr. Care is taken to not disrupt the dorsal capsule.
- Fig 2
- Fig 3
- Fig 4

Post Operative X-ray.
- Fig 8
The patient has returned to competitive power lifting and remains symptom free.
MCL, Posterior Oblique Ligament and Joint Capsule Reconstruction
Patient is a 52-year-old male who underwent resection of the medial capsular structures, including Medial Collateral Ligament, posterior oblique ligament, and the capsule itself in order to treat synovial sarcoma. The patient now suffers from gross medial and lateral instability of his knee. His knee is only functional while in a medial stabilizing brace.
- Picture 1
- Picture 2
- Picture 3
The patient had surgery to correct the instability. A split Achilles allograft was used to reconstruct the MCL and Posterior Oblique Ligament as seen in figure 3 below
Posterior Cruciate Ligament Reconstruction
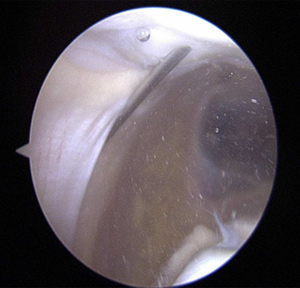
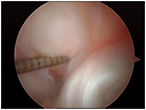
Patient is a 17 year old boy who fell on a bent knee while playing soccer and tore his Posterior Cruciate Ligament (PCL). Despite conservative management with physical therapy and bracing, he continued to complain of instability and was unable to play soccer at a competitive level. Due to this, he and his family elected to undergo PCL reconstruction with allograft.
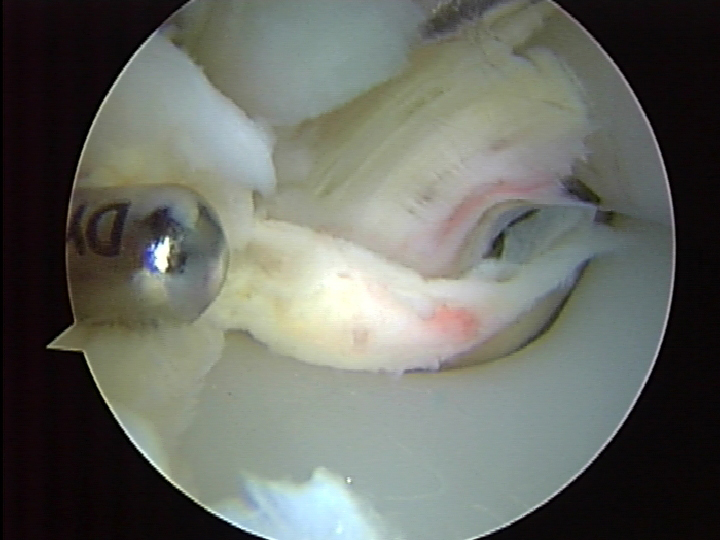
Pictures 1-2 show the injured PCL with a buckled ACL indicative of posterior laxity
- Picture 1
- Picture 2
- Picture 3
- Picture 4

- Picture 5

- Picture 6
- Picture 7
- Picture 8
- Picture 9

- Picture 10


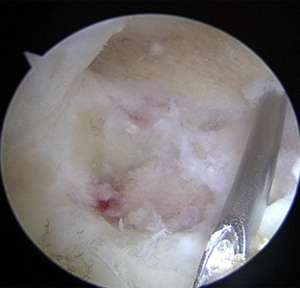
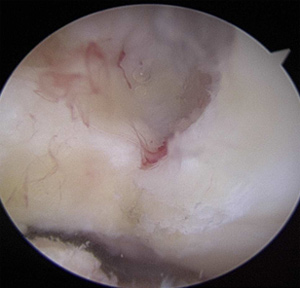
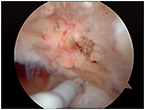
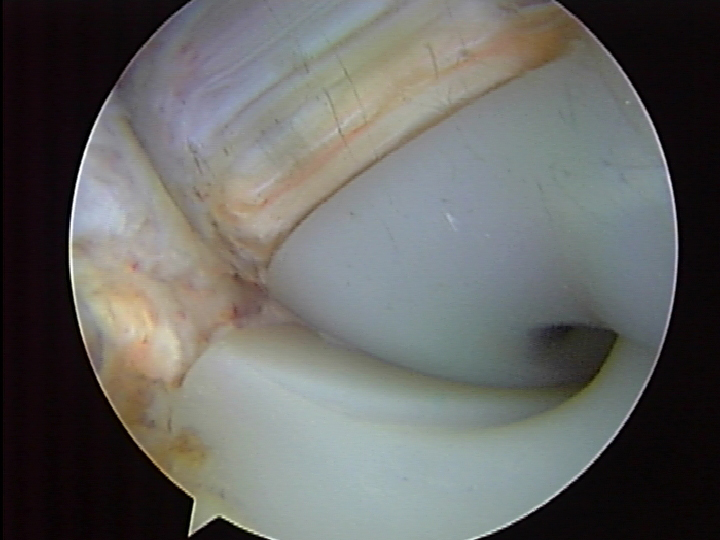
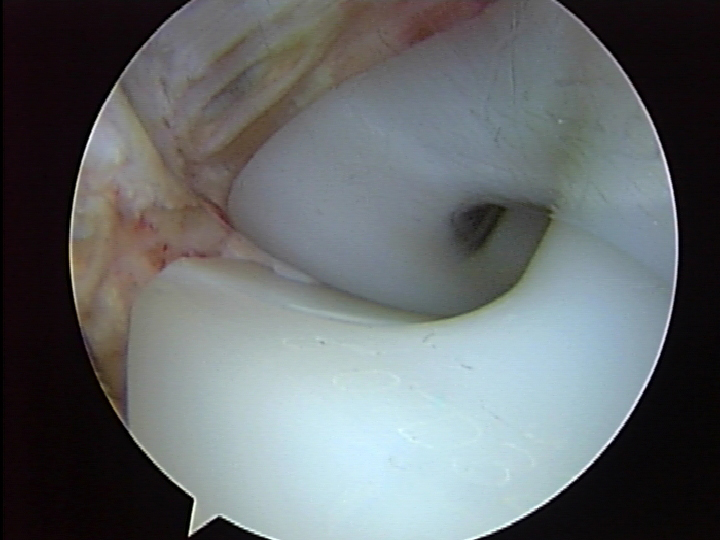
Pictures 3-4 show the removal of torn PCL and identification of the PCL footprint at its femoral (4) and tibial (3) attachments
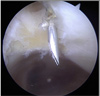
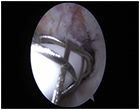
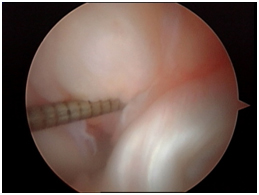
Pictures 5-6 demonstrate the drilling of the tibial tunnel and passing the graft. Great care is taken to visualize and protect the vascular and neurological structures in the back of the knee. In most patients the neurovascular structures are within 3-5 mm of the tibial tunnel
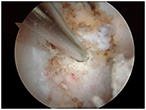
Picture 7-8 demonstrate the drilling of the femoral tunnel
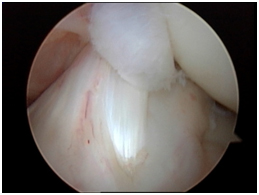
Pictures 9-10 show the graft in place and fixated with a screw. The last picture shows the new graft remaining taut as it is pulled on by a surgical prob.
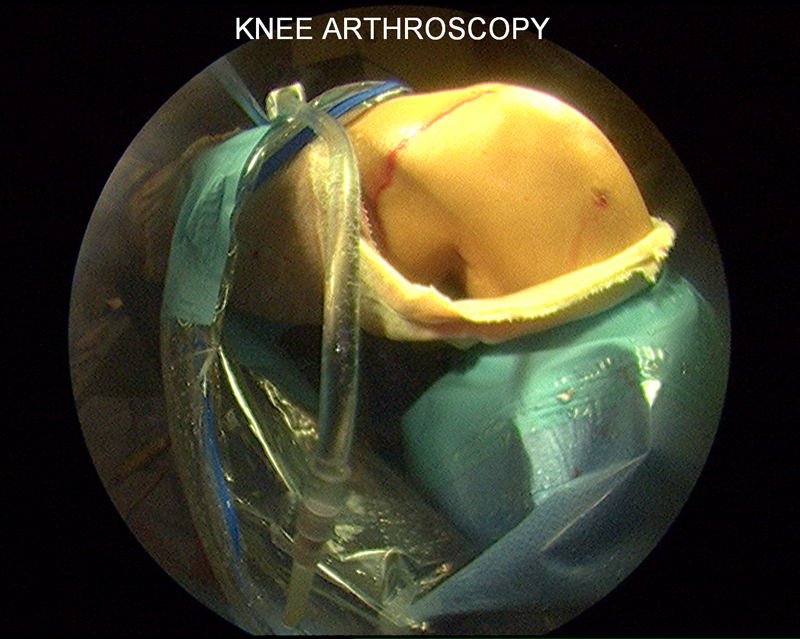
Total Knee Arthroplasty
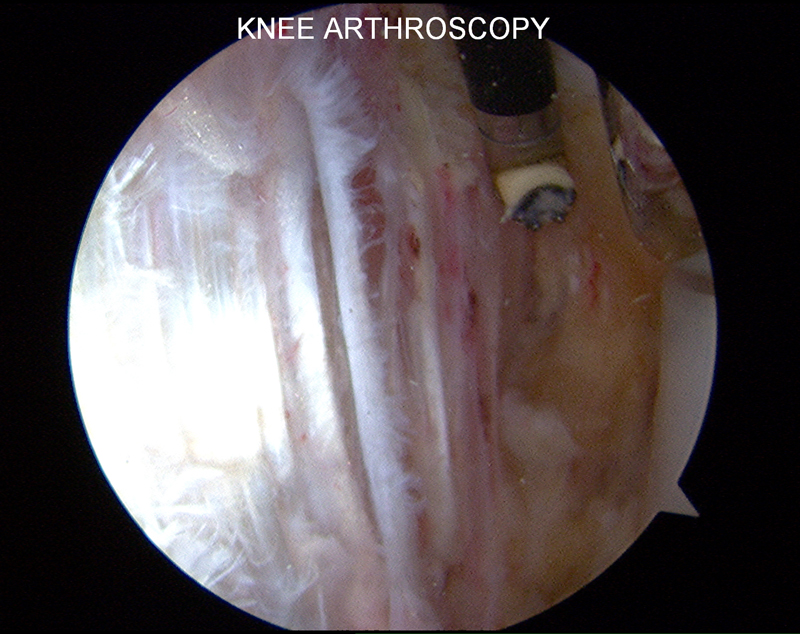
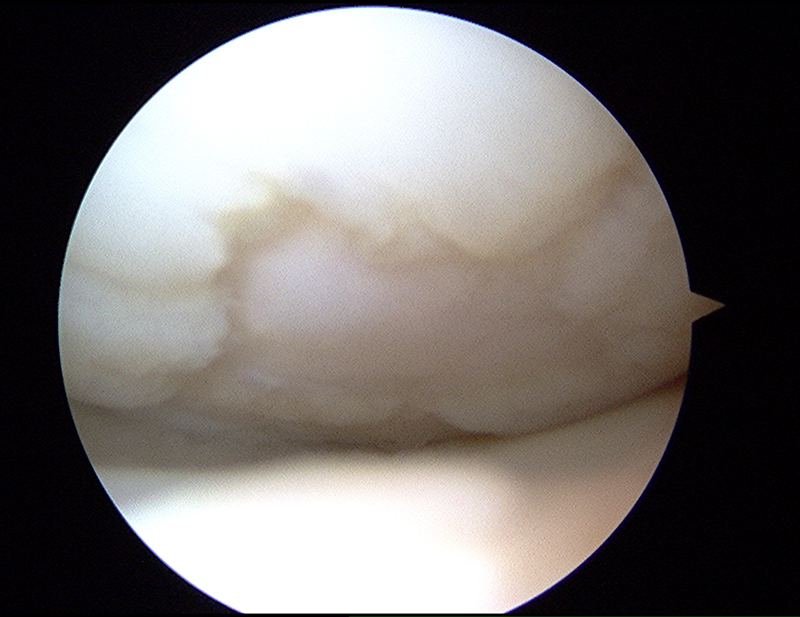
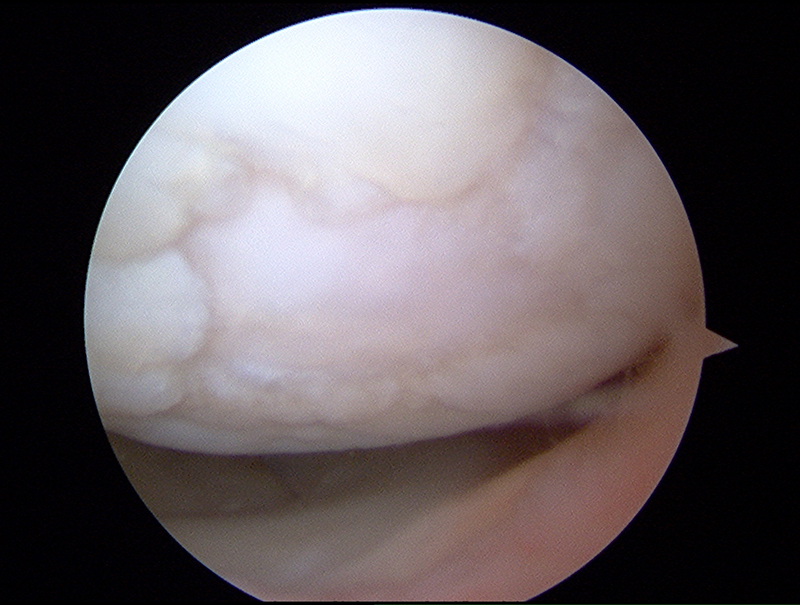
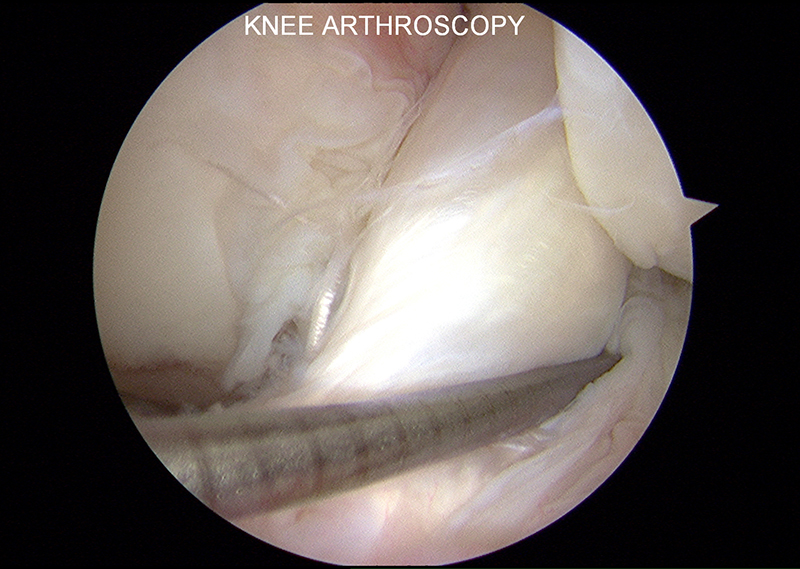
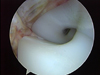
The patient is an active 60 year old who underwent a crucitate retaining total knee arthroplasty at an outside facility. The patient struggled with range of motion postoperatively and at one year postop presented to Dr Shepard. With the patient under anesthesia, only 85 degrees of flexion could be obtained and the PCL is nicely visualized through the arthroscope. The PCL was then released arthroscopically using an ablation wand . After the release, the knee flexed to 130 degrees without difficulty and the PCL was totally released. In the postoperative period, the patient has easily maintained 120 degrees of flexion and been able to return to golf, stair climbing, and getting into a car without difficulty.
- Picture 1
- Picture 2

- Picture 3
- Picture 4


Total Knee Replacement
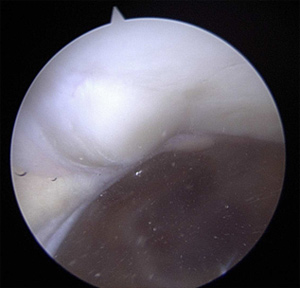
The patient is a very active 65 year old hiker who had continued posterior lateral knee pain while hiking with his total knee replacement. The patient could hike for 20 miles per day but would develop pain on the back and outside of his knee consistent with irritation of the popliteus tendon. He obtained excellent pain relief with a steroid injection in that area and was therefore scheduled for an arthroscopic popliteus release. The first picture shows a red, inflamed, and irritated popliteal tendon as it rubs across the metal femoral component. The second picture demonstrates the complete release of the popliteus tendon and irradiciation of the inflamed synovium . The patient has returned to his high level hiking and is largely symptom free.
- Picture 1

- Picture 2
6 Month Status Post Micro Fracture
These pictures are from a college football player who was seen in our office after tearing his ACL for the second time. His first surgery was done by anther orthopedist. Due to the injury he sustain, it was decided to do his ACL surgery in a two stage manor.
In the first surgery, the old hard ware was removed; the tunnels that were drilled for the first ACL reconstruction were bone grafted and a micro fracture was done to the areas of cartilage damage.
- Picture 1
- Picture 2
- Picture 3
- Picture 4

- Picture 5


9 Years Post ACL
This picture and video demonstrate the quality and strength of an ACL graft nine years after reconstruction in a college volleyball athlete.
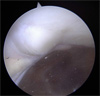
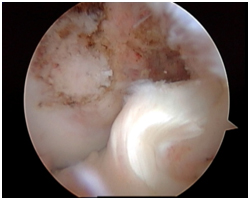
Arthroscopic Arthrofibrosis Release of a patient with PVNS
This patient presents with a tumor like condition called Pigmented Villonodular Synovitis. She had a scarred posterior capsule from her PVNS and could not get her knee straight (0 degrees). In fact her motion was only 15 - 125 degrees and the motion she did have was painful. Failure to address the posterior aspect of the knee is the most common reason for recurrence of symptoms and failure to obtain full extension. Dr Shepard routinely works in the posterior aspect of the knee during Knee Arthroscopies and Ligament reconstructions.
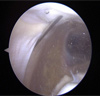
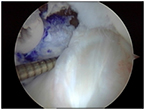
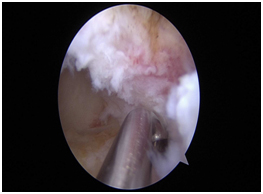
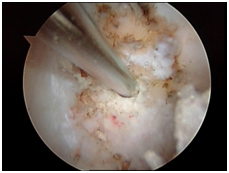
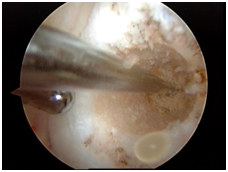
Picture 1 demonstrates the grape like tumors behind her Posterior Cruciate Ligament and posterior to the Medial Femoral Condyle. Pictures a 2 and 3 demonstrate the resection of the tumors and the release of the posterior capsule. This release must be done with great care as the neuro-vascular structures lie in the immediate proximity. In picture 3, you can see the tendon of the gastrocnemius (calf muscle) indicative of a successful release.
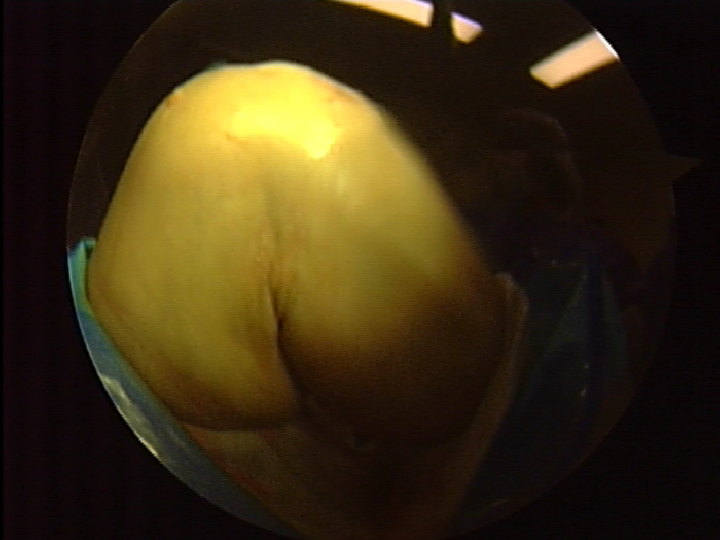
Gross Pictures 4 and 5 demonstrate that extension is now 0 degrees (fully straight) and flexion is to 135 degrees. This range of motion equals the patient's opposite knee and feels normal to her.
Click on the thumbnails for enlarged view
- Picture 1

- Picture 1
- Picture 2

- Picture 3
- Picture 4
- Picture 5
- Picture 6
- Picture 7


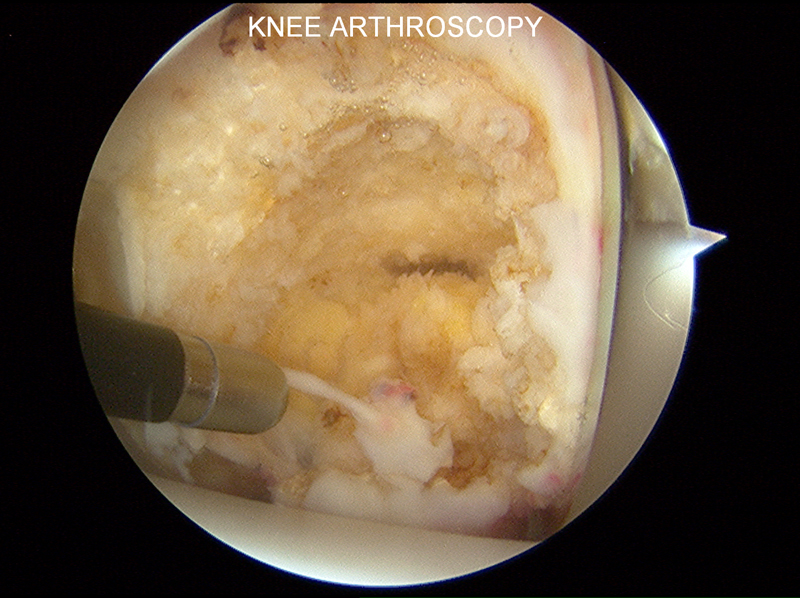
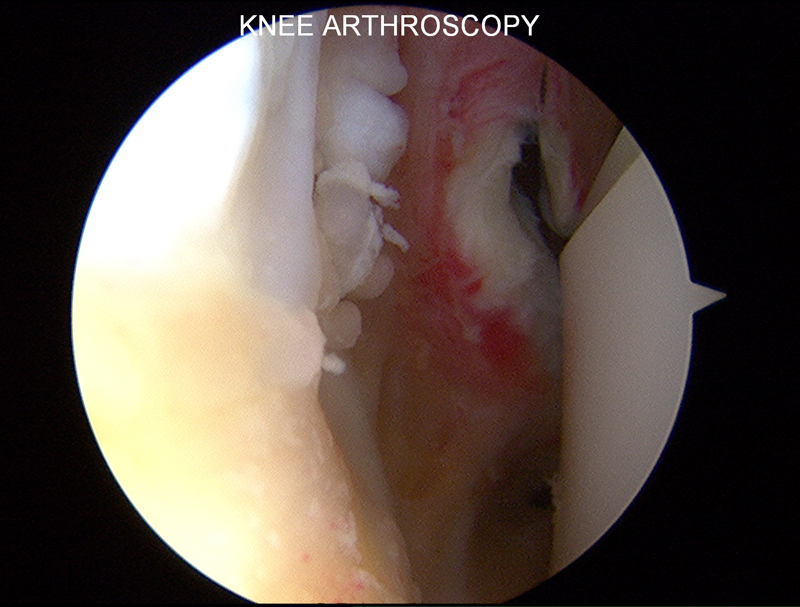
Arthroscopic Arthrofibrosis Release of a Total Knee Replacement
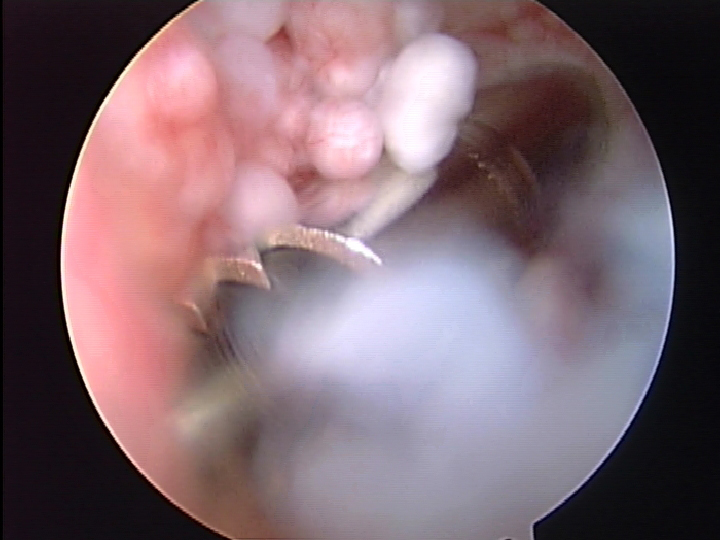
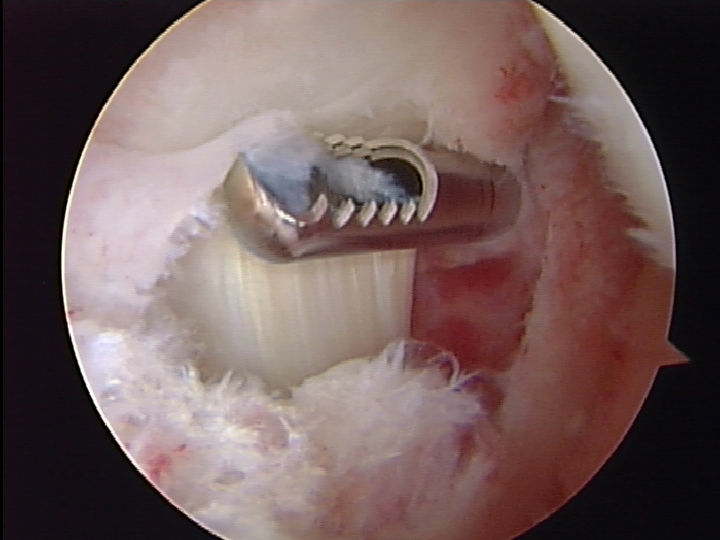
Sometimes, a total knee replacement can get stiff or lose range of motion; this is called arthrofibrosis ( arthro - joint, fibrosis - stiff or contracted). If the motion falls below ninety degrees even simple tasks such as sitting, manuevering stairs, and driving can be very difficult and can result in increased knee, hip, and back pain. In an arthroscopic release, Dr Shepard makes several small poke holes in the knee and releases the scar tissue to restore motion. Arthroscopic release is less painful, less invasive, and often times more successful than traditional manipulation under anesthesia or revision knee replacement.
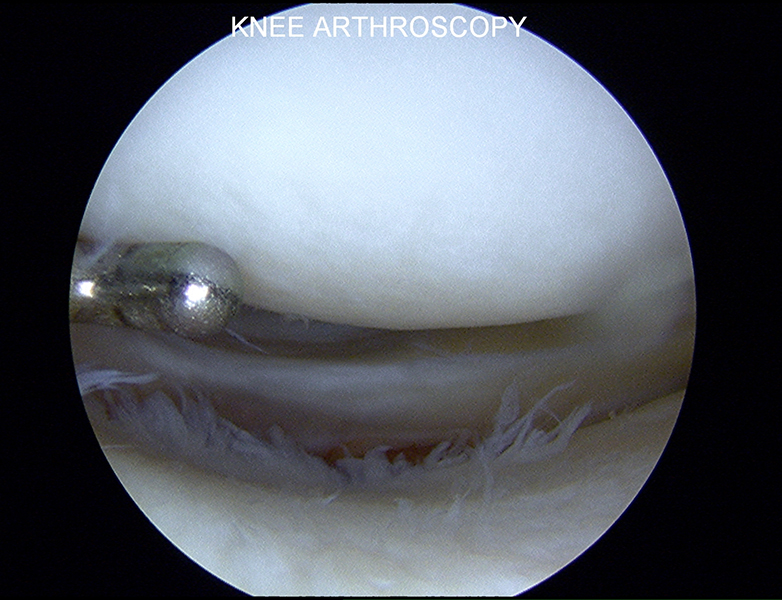
This patient had a knee that only bent from 20 degrees to 80 degrees (Picture 1). Zero degrees would show a knee fully straight and ninety degrees would be a knee bent at a right angle. Arthroscopic Pictures 2 and 3 show scar tissue growing between the polyethylene plastic and the metal knee components. Pictures 4 and 5 show the removal of the scar with an arthroscopic shaver. The video shows the removal of scar tissue from the knee replacement.
Finally, the gross pictures show the knee is now full straight (Picture 6) and flexes to 125 degrees (gross picture 7). The patients knee motion went from 20-80 preoperatively to 0-125 postoperatively.
Click on the thumbnails for enlarged view

What is Knee Ligament Reconstruction?
Knee ligament reconstruction involves the replacement of a torn ligament with a graft that will reproduce the function. Certain ligaments in the knee, like the PCL and MCL, have some ability to heal on their own and may be repaired. Other ligaments, like the LCL and ACL, have very limited healing capabilities and most likely will need to be reconstructed with drill holes and a new piece of tissue (graft). In knee ligament reconstruction, the grafts most likely used are patellar tendon grafts, hamstring grafts, or Achilles grafts. These grafts can be autografts or allografts. Autografts are tissues taken from the patients body. Allografts are tissue taken from a cadaver (dead person). Dr Shepard learned ACL reconstruction during his fellowship with William Clancy MD – the father of modern ACL reconstruction techniques. ACL reconstruction is one of the most common procedures Dr Shepard performs. Each year he performs about 100 knee ligament reconstructions.
Which graft / surgery is right for me?
Not every patient is the same and not every knee injury is the same. Each knee injury and each possible surgery is evaluated on an individual basis. Dr Shepard enjoys spending time with each patient weighing the risks and benefits of all the surgery options with each patient. With each knee reconstruction comes a consideration of graft type, surgery type, anesthesia, pain control, number of tunnels, time off of work / school, time off of sport, and a rehabilitation timeline. Only with a thorough understanding of the risks and benefits of the different surgical techniques can we find the right surgery for you.
ACL with Patellar Tendon Autograft - 5 years after surgery in a Division I NCAA athlete
This is a 23 year old female Division I College Athlete 4 years out from her ACL reconstruction with Patellar Tendon Autograft. The video shows the well incorporated ACL graft 4 years after surgery. She completed four years of DIV I college softball after ACL reconstruction.
PCL graft 4 years after surgery
This is a 35 year old female 4 years out from her PCL reconstruction. She had been hit by a car and underwent MCL and PCL reconstruction. The video shows the well incorporated PCL graft 4 years after surgery.